Laser stands for optical amplification excited by radiation. 3D laser scanning uses a laser beam to scan a part. There are several types of laser scanners, but the most common are: hand-held, where the beam is swept across the part and mounted on a tripod, and the laser line sweeps over an area or measures a point. The scanner can also be attached to an arm or a traditional gantry, but sometimes restricts scanning to a limited size, which increases the risk of human error and introduces a degree of uncertainty to the measurement.
3D scanning solutions using structured light are a fast, highly accurate and non-destructive way to digitally capture the physical form of an object. Much like laser scanning, digital data captured through 3D scanning can be used for product design, visualization, and inspection to help design engineers with quality assurance, design modifications, and improvements.
The process involves emitting laser beams towards a target surface. The scanner measures the time it takes for the laser to return, calculating the distance to each point. This data is compiled into a "point cloud," representing the object's surface geometry.
Both laser scanners and 3D laser scanning technologies can produce high-density point clouds or polygon meshes, which can be inspected directly into CAD models, geometry or manufacturing drawings, or older products can be reverse-engineered using specialized software.
Once the line passes through the illuminated object, the laser scanner captures the data. The 3D scanner samples the data multiple times as the fringe pattern of varying width and phase captures the shape of the object. 3D laser technology is inherently more accurate than laser scanners due to the repeatability, traceability and high resolution of measurements. Both systems are immune to ambient light conditions, and both types of systems are suitable for industrial applications. Because 3D scanning provides greater accuracy, it is especially useful for measuring very detailed projects, capturing the defining edges of a part. As such, 3D is the preferred data capture method for the aerospace and power generation industries for its high level of accuracy, resolution and full traceability of data.
3D Laser Scanning Accuracy:
Typical accuracy: 3D laser scanning can achieve accuracy within +/- 1 mm when used correctly. [1]
Fine-scale accuracy: Some scanners can reach accuracy of 0.005 mm (5 microns). [2]
Spatial accuracy: This refers to the capacity of a scanner to accurately capture point positions in 3D space. [3]
One of the biggest differences between laser scanners and 3D laser scanning system is the light intensity used. Laser scanners focus intense light and energy into a small area, so the biggest safety hazard associated with this is eye safety. Technology cannot project with the same intensity and therefore does not carry the same risks. This makes 3D scanning technologies easy to implement in a wide range of environments, as it presents minimal security concerns when used in open studios or design studios.
| Laser Scanner (2D) | 3D Laser Scanner | |
| Dimensional Capability | 2D (X-Y plane only) | 3D (X, Y, Z axes) |
| Output Data | 2D profiles or slices | 3D point clouds |
| Data Complexity | Low – simple and lightweight | High – complex and requires advanced processing |
| Scanning Coverage | Single line or plane | Full surface or environment |
| Use in Real-Time Systems | Commonly used due to low data volume | Less common due to high processing requirements |
| Accuracy and Detail | Moderate, depending on the sensor | High precision and detailed 3D representation |
| Light Intensity | Uses highly focused light; potential eye safety risks | Lower light intensity; safer for open and shared environments |
With the added benefit of using a photogrammetric system, it is possible to expand the potential scan area where we are using the system without compromising the accuracy of the scan data. Photogrammetry is a stand-alone metrology system designed to capture reference points using multiple digital images using a validated camera. The system can use these reference points to expand the potential scan area, which means large objects can be captured. Most laser scanners do not have the capability to integrate with photogrammetry or other single point systems, which means that accuracy can be compromised when scanning large objects.
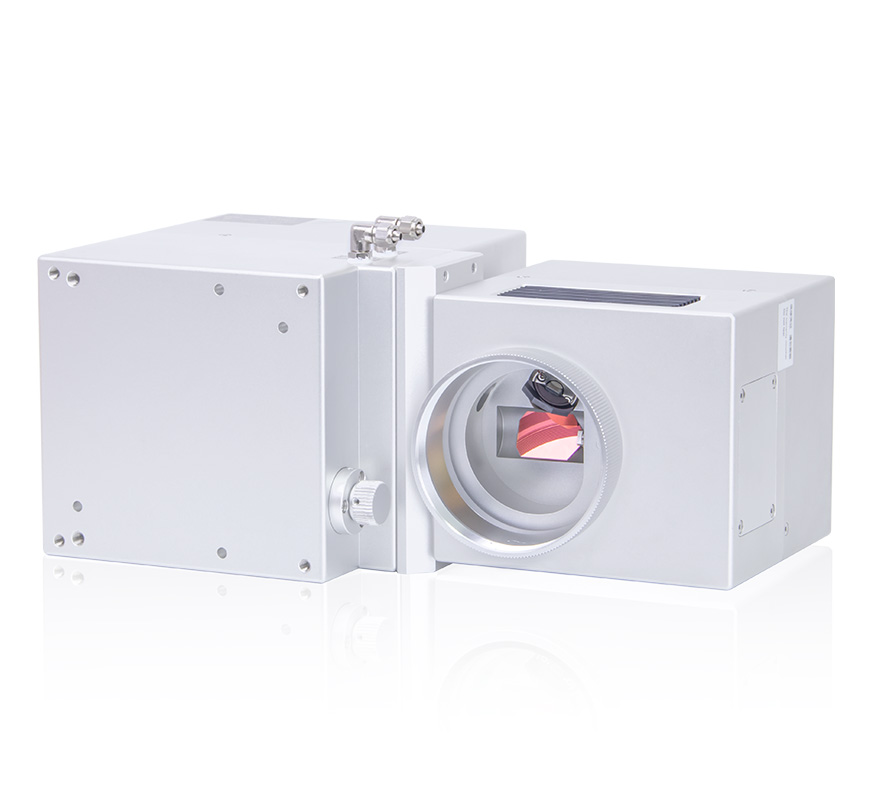
The large-format 3D scan head from Scanner Optics overcomes the range limitations typically associated with 2D field lenses. It features an integrated three-axis galvanometer system, eliminating the need for manual Z-axis optical path calibration, which simplifies both installation and setup. Depending on the specific application, users can choose between analog or digital galvanometers, as well as corresponding analog or digital driver boards. This scanner is particularly suited for applications such as large-area CO₂ laser marking, 3D scanning systems, laser die cutting, and more.

Reference:
[1] How accurate is 3D laser scanning? You may be surprised.
[2] 3D scanning accuracy, precision & resolution: What’s the difference?
[3] Assessing the performance of 3D Scanners: How Accurate Are They?